Ever stared at your cheekbones in the mirror, willing them to pop like your favorite Instagram influencers? Yeah, us too. The good news? You don’t need magic or Photoshop—just the right tools and techniques. Enter: the cheek sculpting palette, your new BFF for that chiseled, I-was-born-this-way glow.
In this post, we’ll explore everything about cheek sculpting palettes—from why they’re essential to how to use them like a pro. You’ll learn:
- Why contour matters (and why you’ve been doing it wrong).
- A step-by-step guide to nailing the perfect cheek sculpt.
- Top tips to avoid rookie mistakes (hello, muddy cheeks).
- Real-life examples of transformative looks.
Table of Contents
- Introduction: Why Cheek Sculpting Palettes Belong in Your Makeup Bag
- The Problem: Why Contour is Tricky Without the Right Tools
- Step-by-Step Guide to Using a Cheek Sculpting Palette
- Tips & Best Practices for Flawless Cheek Sculpting
- Examples: Before and After Cheek Sculpting Magic
- FAQs About Cheek Sculpting Palettes
Key Takeaways
- A cheek sculpting palette combines blush, bronzer, and highlighter for seamless contouring.
- Master blending techniques are key to avoiding harsh lines.
- Choose a palette suited to your skin tone for natural results.
- Practice makes perfect—don’t be afraid to experiment!
Introduction: Why Cheek Sculpting Palettes Belong in Your Makeup Bag
Cheek sculpting palettes are designed to streamline your contouring routine.
Before we dive in, let’s get one thing straight: contour isn’t just for runway models or TikTok stars. It’s for anyone who wants their face to look more defined, balanced, and radiant. But let’s face it—getting cheekbones sharp enough to cut glass can feel impossible if you’re winging it with mismatched products.
That’s where a cheek sculpting palette comes in clutch. These multitasking wonders pack all the essentials you need: blush, bronzer, and highlighter—often pre-blended into complementary shades so you never have to second-guess your choices. Curious? Keep reading.
The Problem: Why Contour is Tricky Without the Right Tools
Poorly done contour often results in streaky or unblended lines.
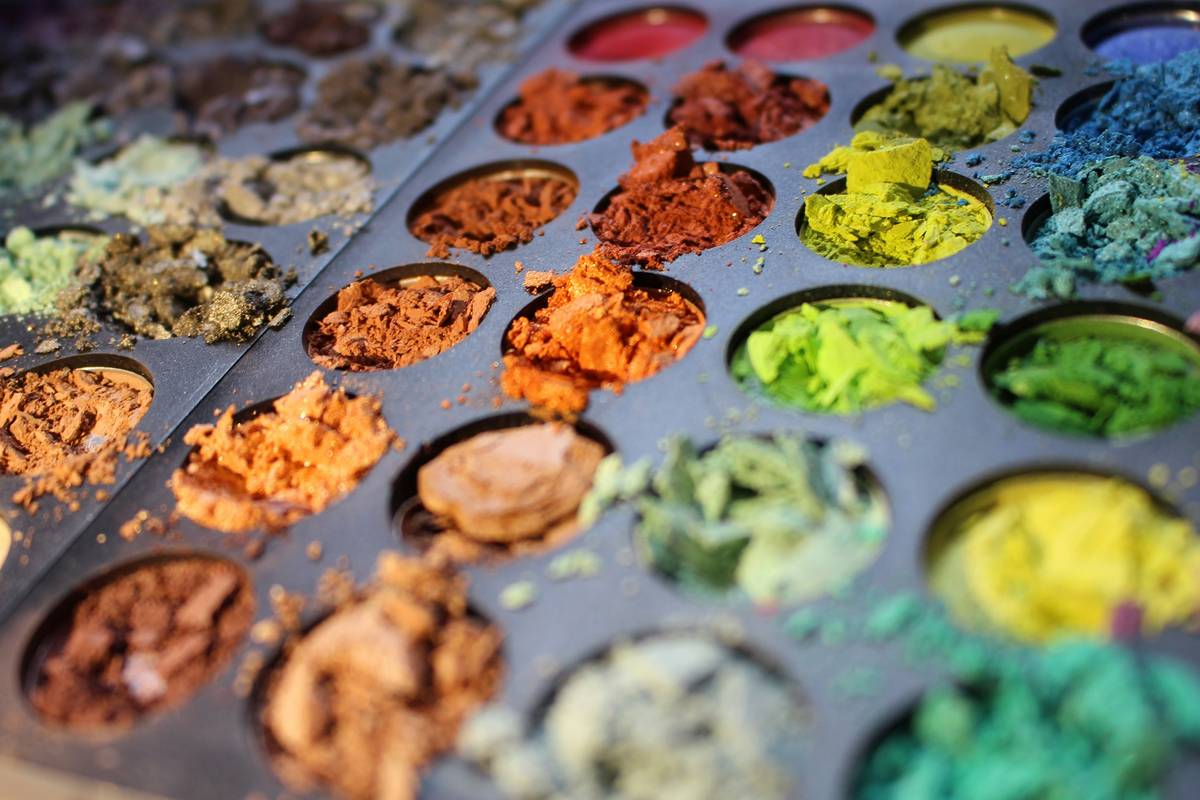
Rant Alert: Nothing grinds my gears more than seeing people skip over tools and go full DIY disaster mode when trying to contour. You know what I mean—the orange-y bronzer patches, the blinding highlights sitting on top of cheekbones like disco balls, and those awkward blush blobs that scream “I tried!”
I’ll admit—I’ve made every mistake under the sun. Once, I thought throwing random powder colors together would work because hey, art is subjective, right? Wrong. My face ended up looking like an abstract painting gone rogue.
Here’s the deal: Without the right tools, even the best intentions fall flat. A cheek sculpting palette solves most of these issues by giving you harmonized shades specifically crafted to enhance your features—not ruin them.
Step-by-Step Guide to Using a Cheek Sculpting Palette
Optimist You:
“Anyone can master cheek sculpting with practice and patience!”
Grumpy You:
“Yeah, yeah—but only if there’s caffeine involved.”
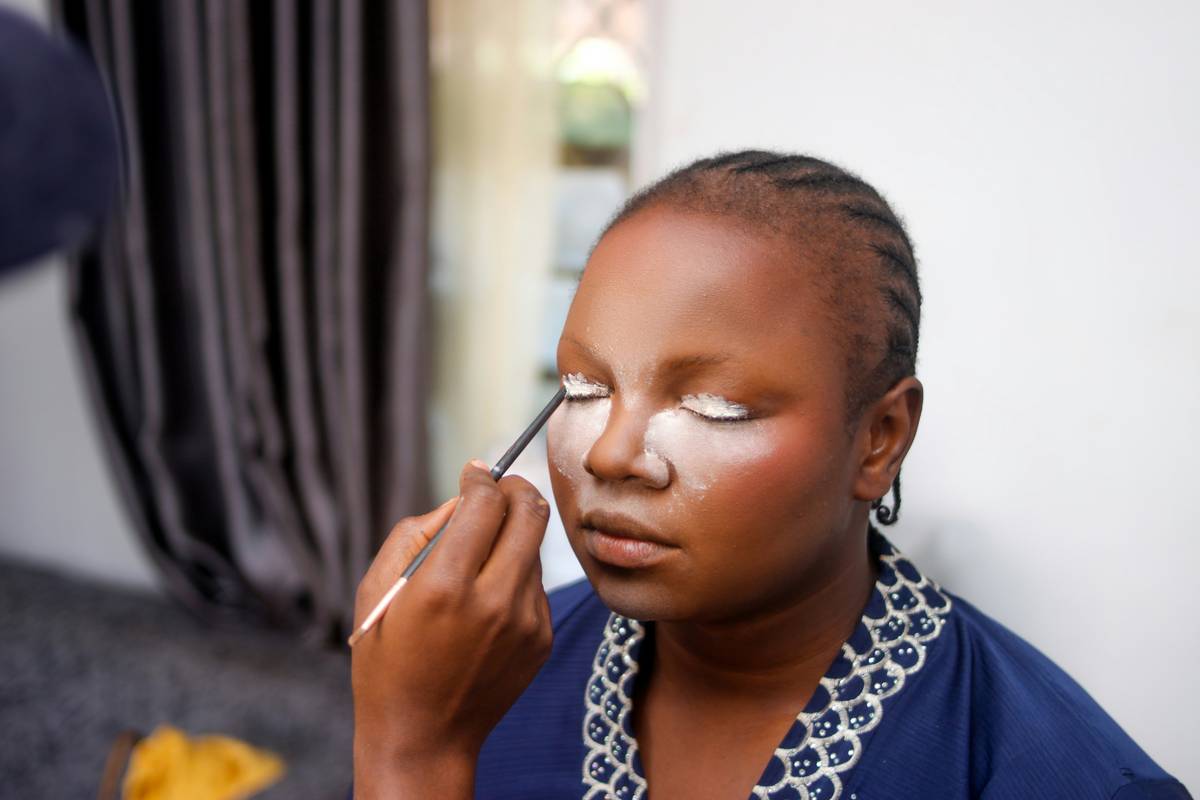
- Start With Clean Skin: Prep your base with moisturizer and primer for smooth application.
- Apply Foundation: Use a foundation brush or sponge to create an even canvas.
- Blend Bronzer Below: Use the darkest shade in your cheek sculpting palette to define hollows beneath your cheekbones. Blend upward using circular motions.
- Add Blush On Top: Sweep a warm blush across the apples of your cheeks for a healthy flush.
- Highlight Strategically: Apply the lightest shade from your palette along the high points of your face (cheekbones, brow bones, cupid’s bow).
- Blend Like Crazy: Use a damp beauty blender or fluffy brush to soften edges and ensure no harsh lines remain.
Tips & Best Practices for Flawless Cheek Sculpting
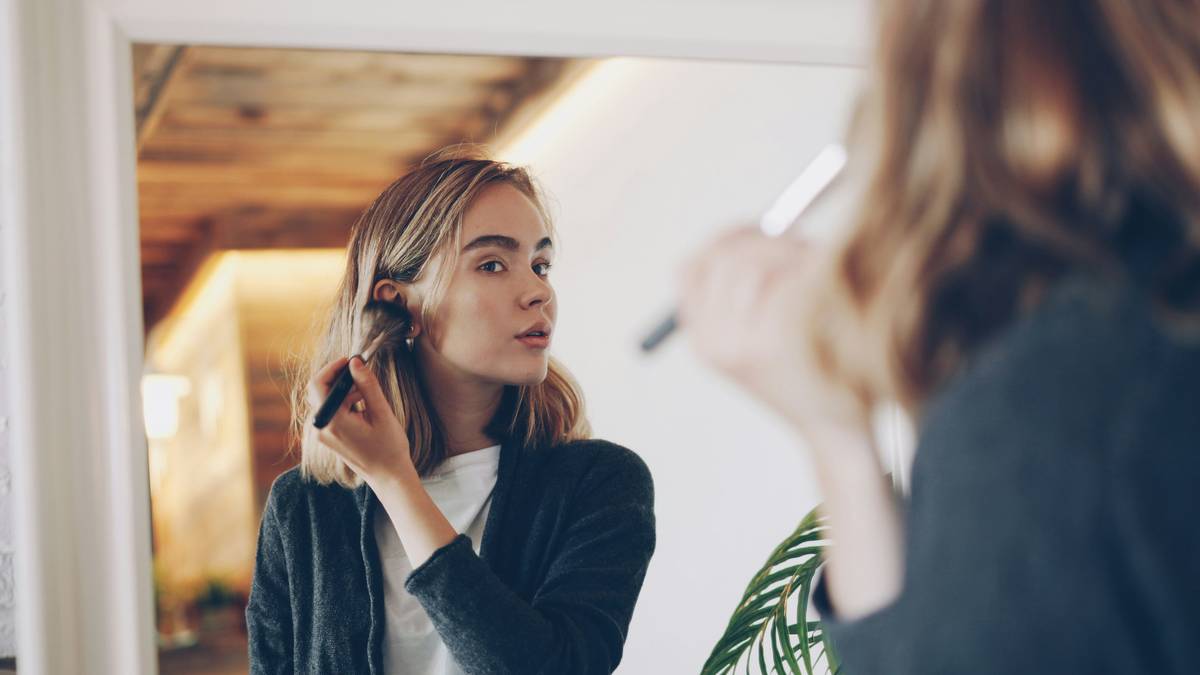
Quality brushes make blending easier and more effective.
Do’s:
- Match your palette to your skin tone for natural results.
- Invest in quality brushes for smoother blending.
- Layer lightly—build coverage gradually instead of going heavy-handed.
Don’ts:
- Skip primer—it’s the secret to long-lasting makeup.
- Use too many products simultaneously (less is more!).
- Forget to blend thoroughly (harsh lines = instant fail).
Examples: Before and After Cheek Sculpting Magic
Check out these stunning transformations:
- Example 1: A soft daytime look enhanced with subtle bronzing and blush.
- Example 2: Glammed-up evening vibes featuring bold highlighting and precise contouring.
FAQs About Cheek Sculpting Palettes
What exactly is a cheek sculpting palette?
A cheek sculpting palette contains multiple shades—usually bronzer, blush, and highlighter—specifically curated to shape and add dimension to your cheeks.
Can beginners use a cheek sculpting palette effectively?
Absolutely! Just follow our step-by-step guide above, take it slow, and embrace trial-and-error learning.
Do I really need a palette if I already own individual products?
Nope, but palettes simplify things by keeping shades cohesive, saving space, and streamlining your routine.
Conclusion
If you’ve been struggling to achieve picture-perfect cheekbones, stop stressing—grab a cheek sculpting palette and start practicing today. With the right tools, some patience, and our foolproof guide, you’ll soon be turning heads with your flawless technique.
And remember, “Like Avril Lavigne’s eyeliner circa 2004, your skills will never fade.”