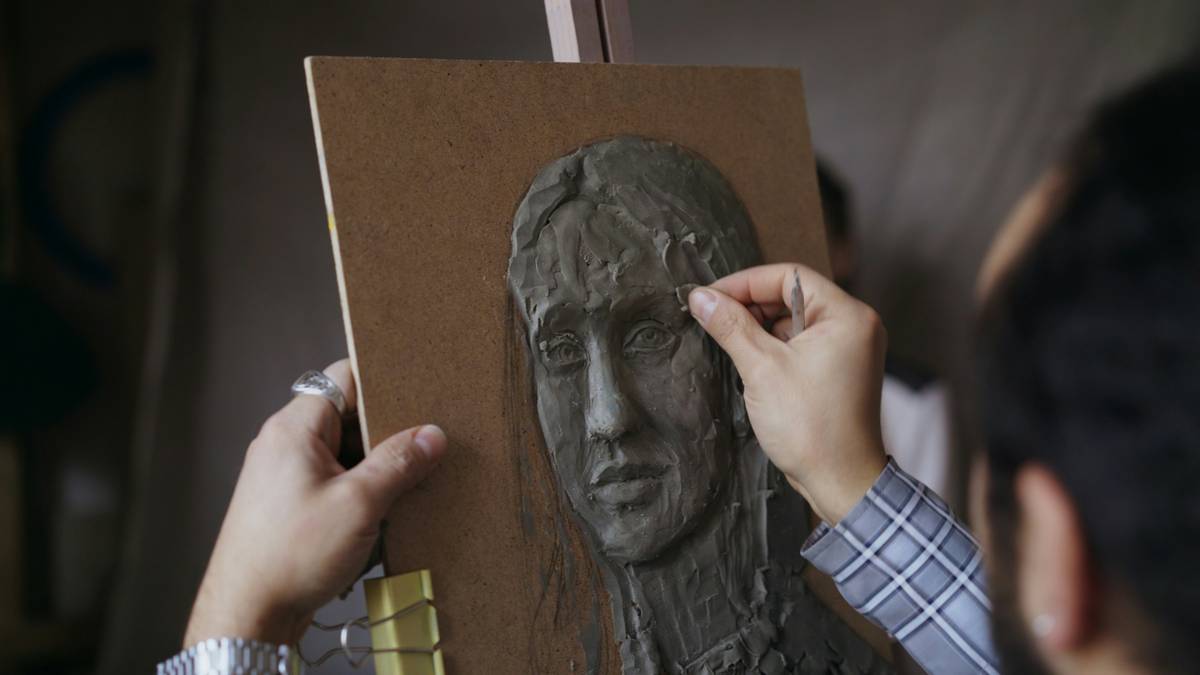
“Ever stared at your makeup bag, wondering why your face sculpting attempts look more like a Picasso painting than a flawless finish? Yeah, we’ve all been there.”
If you’re tired of wasting time blending shades that don’t quite work or end up looking muddy on your skin, it’s time to get serious about one game-changing tool: the face sculpting palette. In this guide, I’ll walk you through everything from how to pick the right palette for your skin tone to nailing professional-level techniques—even if you’re a beginner. You’ll leave with actionable tips, honest advice, and maybe just a hint of nostalgia.
Table of Contents
- Why Every Makeup Lover Needs a Face Sculpting Palette
- Step-by-Step Guide to Using Your Face Sculpting Palette
- Best Practices for Flawless Application
- Real Examples of Stunning Transforms
- FAQs About Face Sculpting Palettes
Key Takeaways
- A face sculpting palette combines contour, highlight, and sometimes blush in one compact kit, saving space and simplifying routines.
- Picking the right undertones is crucial for achieving natural-looking results.
- Learn easy-to-follow steps to use brushes, sponges, and fingers effectively.
- Pro tip: Blending tools matter as much as product quality, so invest wisely!
Why Every Makeup Lover Needs a Face Sculpting Palette
Growing up, my idea of contouring was swiping random brown eyeshadow along my cheekbones—until Instagram tutorials introduced me to the power of a good face sculpting palette. But here’s the thing: not all palettes are created equal. Some have chalky formulas; others include shades completely irrelevant to my warm undertones. It’s enough to make anyone want to throw their hands up and stick to mascara alone.
Seriously though, why bother? Well, because mastering contouring can:
- Create dimension where there seems none (hello, cheekbones).
- Define jawlines without surgery.
- Add glow exactly where you need it.
The Pain Point Confession
I once spent over $60 on a luxury palette only to discover half its shades looked orangey-bronze against my olive complexion. Rookie move. Lesson learned: Always swatch before you buy. Or at least check user reviews obsessively.
Step-by-Step Guide to Using Your Face Sculpting Palette
Grumpy Optimist Dialogue:
Optimist You: “With these steps, you’ll nail perfect sculpting!”
Grumpy You: “Yeah, sure. As long as caffeine fuels our brush strokes.”
Step 1: Prep Like A Pro
Start by prepping your canvas. Apply moisturizer followed by primer. This ensures smooth application and helps the pigment stay put longer.
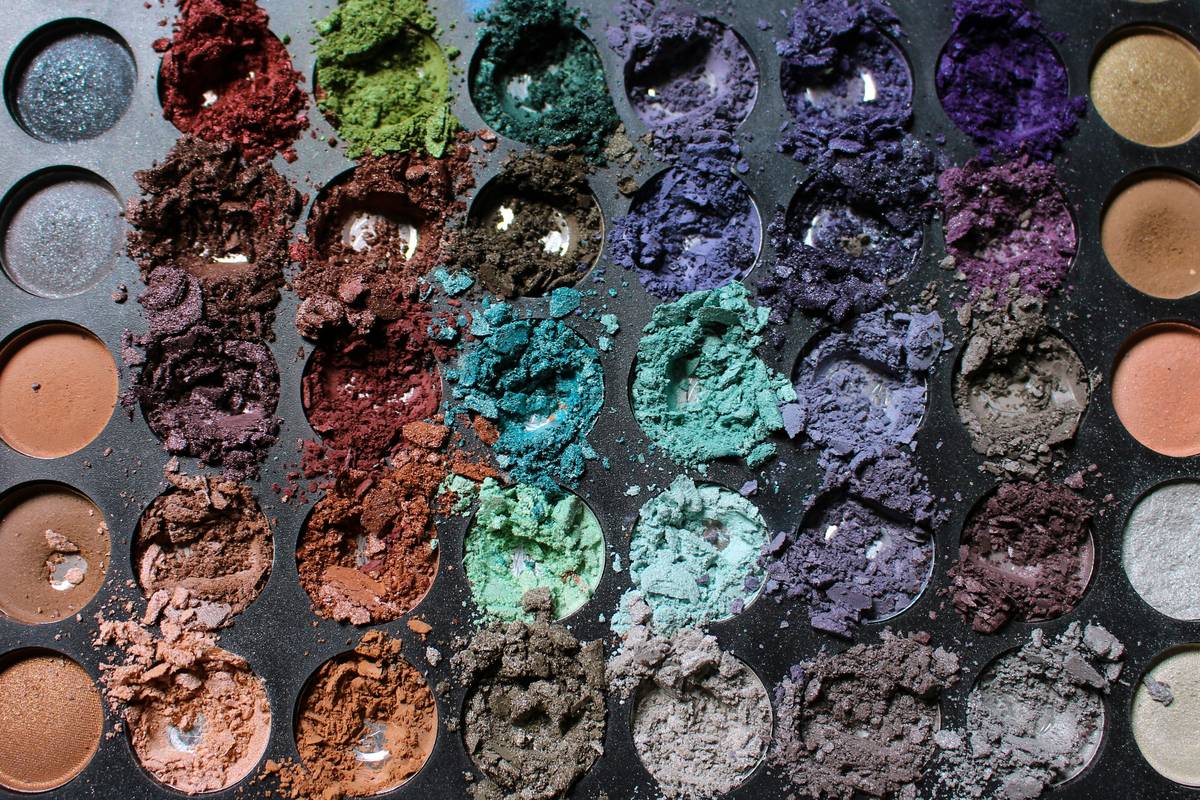
Step 2: Choose Your Contour Shade Wisely
Select a shade two tones deeper than your foundation—but ensure it matches your undertone. Cool-toned? Look for ashier browns. Warm-toned? Opt for red-based hues.
Step 3: Define Key Areas
Use an angled brush for precision. Focus on hollows of cheeks, temples, and sides of the nose. Blend outward using a damp beauty sponge—it’s chef’s kiss for seamless edges.
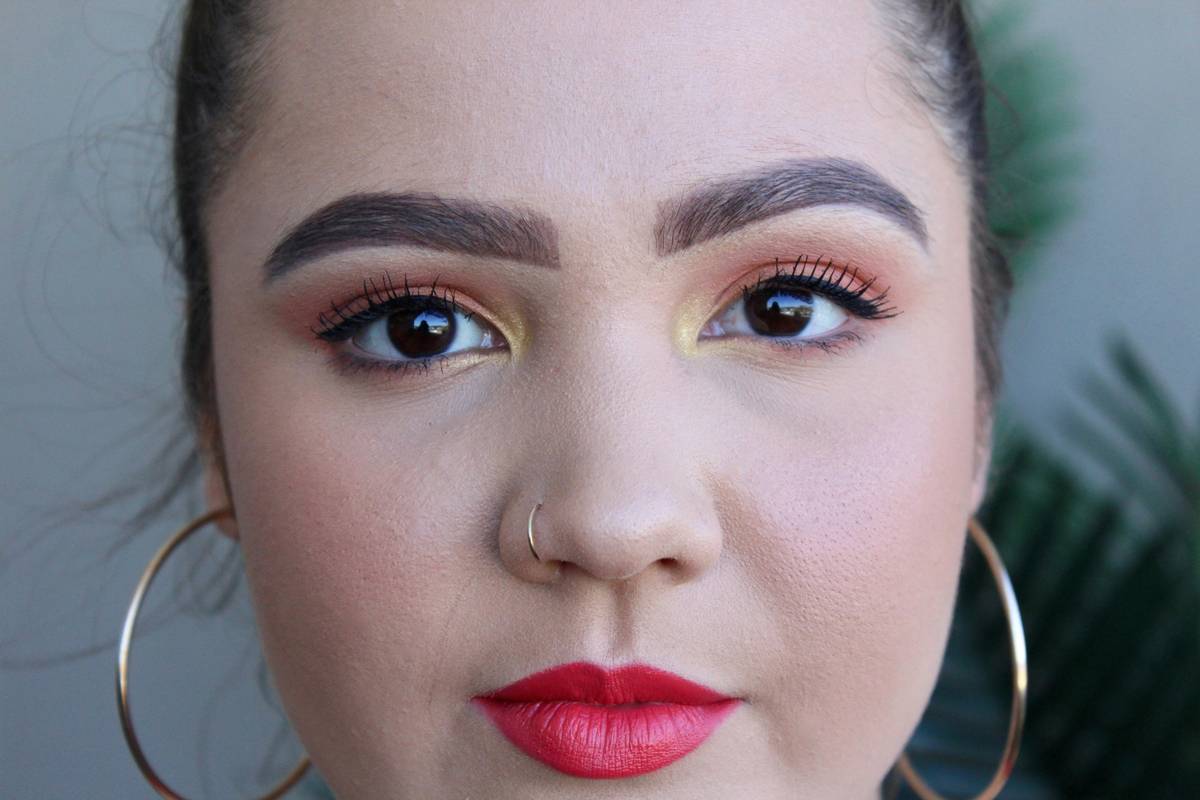
Step 4: Highlight Strategically
Dab highlighter on high points of your face: tops of cheekbones, cupid’s bow, brow bone, and inner corners of eyes. Avoid overly glittery finishes unless you’re channeling festival vibes.
Step 5: Set Everything In Place
Finish off with translucent powder to lock everything in place. Sounds simple, but skipping this step leads to dreaded patchiness faster than you think.
Best Practices for Flawless Application
- Blend, Baby, Blend: Muddy lines ruin every masterpiece. Use circular motions instead of harsh swipes.
- Layer Gradually: Build intensity slowly rather than slathering pigment everywhere.
- Match Undertones: Always prioritize undertones over general light/dark categorizations.
Tips That Work Like Magic
- Increase shine naturally by mixing a drop of liquid highlighter into foundation.
- For oily skin types, opt for cream-based products sparingly to avoid shine overload.
Terrible Tip (Proceed at Own Risk):
“Try caking on multiple layers of powder highlighter for intense shimmer.” Trust me when I say no one needs THAT much sparkle. Unless, of course, you’re aiming for disco ball vibes.
Real Examples of Stunning Transforms
Want proof? Consider Sarah, who went from doubting her skills to creating runway-ready looks after switching to a dual-ended face sculpting palette. Her secret? She didn’t try to wing it solo—she watched videos, practiced daily, and embraced failure until success felt inevitable.
FAQs About Face Sculpting Palettes
Q1: Can beginners use a face sculpting palette?
Absolutely! With practice, anyone can master contouring basics.
Q2: Do drugstore options perform well?
Some do! Just read reviews carefully before buying.
Q3: What tools should I use with my palette?
Angled brushes and dense blending sponges are highly recommended.
Conclusion
Navigating the world of face sculpting palettes might seem daunting initially, but armed with knowledge and perseverance, soon enough, you’ll be crafting Insta-worthy selfies effortlessly. Remember, patience pays off—and bad days happen even to pros.
Like applying lipstick during turbulence, life throws unexpected challenges. Yet embracing your uniqueness makes every journey worthwhile.
(Or something cheesy like…)
Brush meets soft sunlit glow,
Shadows dance upon her face,
Confidence blooms true.