“Ever spent 20 minutes blending eyeshadow only for it to look like a toddler’s art project? Yeah, us too.” Let’s be honest—getting those bold, unforgettable statement eyes can feel impossible without the right tools and techniques. Lucky for you, this blog will break it down step-by-step so even your cat-eye game gets an upgrade.
In this post, we’ll dive into the magical world of makeup palettes designed specifically to help you create show-stopping looks. From choosing the perfect palette to mastering pro-level application tips, consider this your ultimate guide. Oh, and guess what? We’re also including some fails (yes, real-life ones!) because hey, nobody nails statement eyes on their first try.
Table of Contents
- Why Use a Palette for Statement Eyes?
- Step 1: Choosing the Right Makeup Palette
- Step 2: How to Apply Palette Shades Like a Pro
- 3 Best Tips for Creating Statement Eyes
- Real-Life Examples of Stunning Statement Eyes
- FAQs About Statement Eyes and Palettes
Key Takeaways
- Your choice of palette impacts how vibrant and long-lasting your statement eyes will be.
- Layering colors strategically is key—start light, build intensity.
- Pigmentation matters more than brand names when selecting your go-to palette.
Why Use a Palette for Statement Eyes?
Let’s address the elephant in the room—can’t I just use individual shadows? Sure, but if you want versatility AND quality, a palette is chef’s kiss. Imagine having all the shades you need at arm’s reach instead of digging through endless drawers. Plus, most modern palettes are curated by experts who know exactly which combinations flatter different eye shapes and skin tones.
Step 1: Choosing the Right Makeup Palette
Optimist You: “I found the perfect palette online!”
Grumpy You: “Hold up—it looks cute, but does it actually work?”
Here’s how not to screw this up:
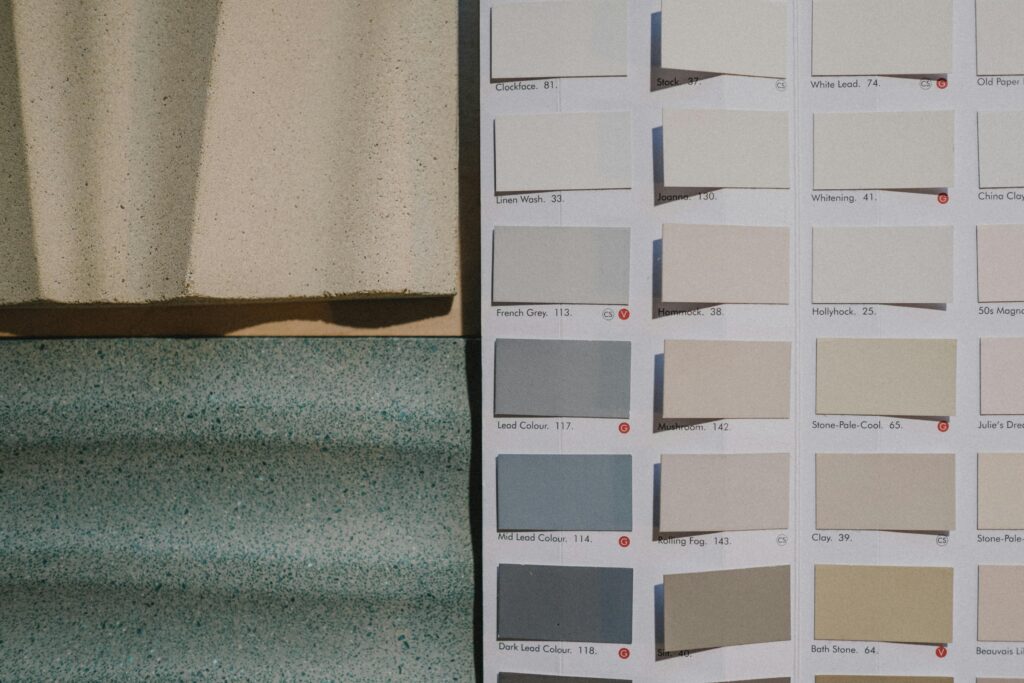
- Know Your Skin Tone: Warm undertones = earthy tones; cool undertones = purples and blues.
- Pigmentation Test: Swipe a sample shade on your wrist—if it doesn’t pop instantly, don’t waste your money.
- Versatility Check: Does the palette have both matte and shimmer finishes? Jackpot!
Step 2: How to Apply Palette Shades Like a Pro
Buckle up—it’s time to transform those lids. Here’s the lowdown:
- Prime That Canvas: A good primer ensures your colors stay put from breakfast meetings to late-night parties.
- Transition Shade First: Start with a neutral base color across the entire lid.
- Build Dimension: Add darker hues to the crease and outer corners while blending like there’s no tomorrow.
- Shimmer Power: Press glitter or metallic shades onto the center of your lids for extra wow factor.
3 Best Tips for Creating Statement Eyes
- Fake Lashes = Game Changer: Pair bold eyeshadows with falsies for dramatic effect.
- Highlight Under Brows: Dab a tiny bit of highlighter under your arches to make eyes pop even more.
- Don’t Forget Liner: Winged liner adds definition and pulls everything together.
(Side note: Never skip cleaning your brushes. They harbor bacteria worse than your fridge after Taco Tuesday.)
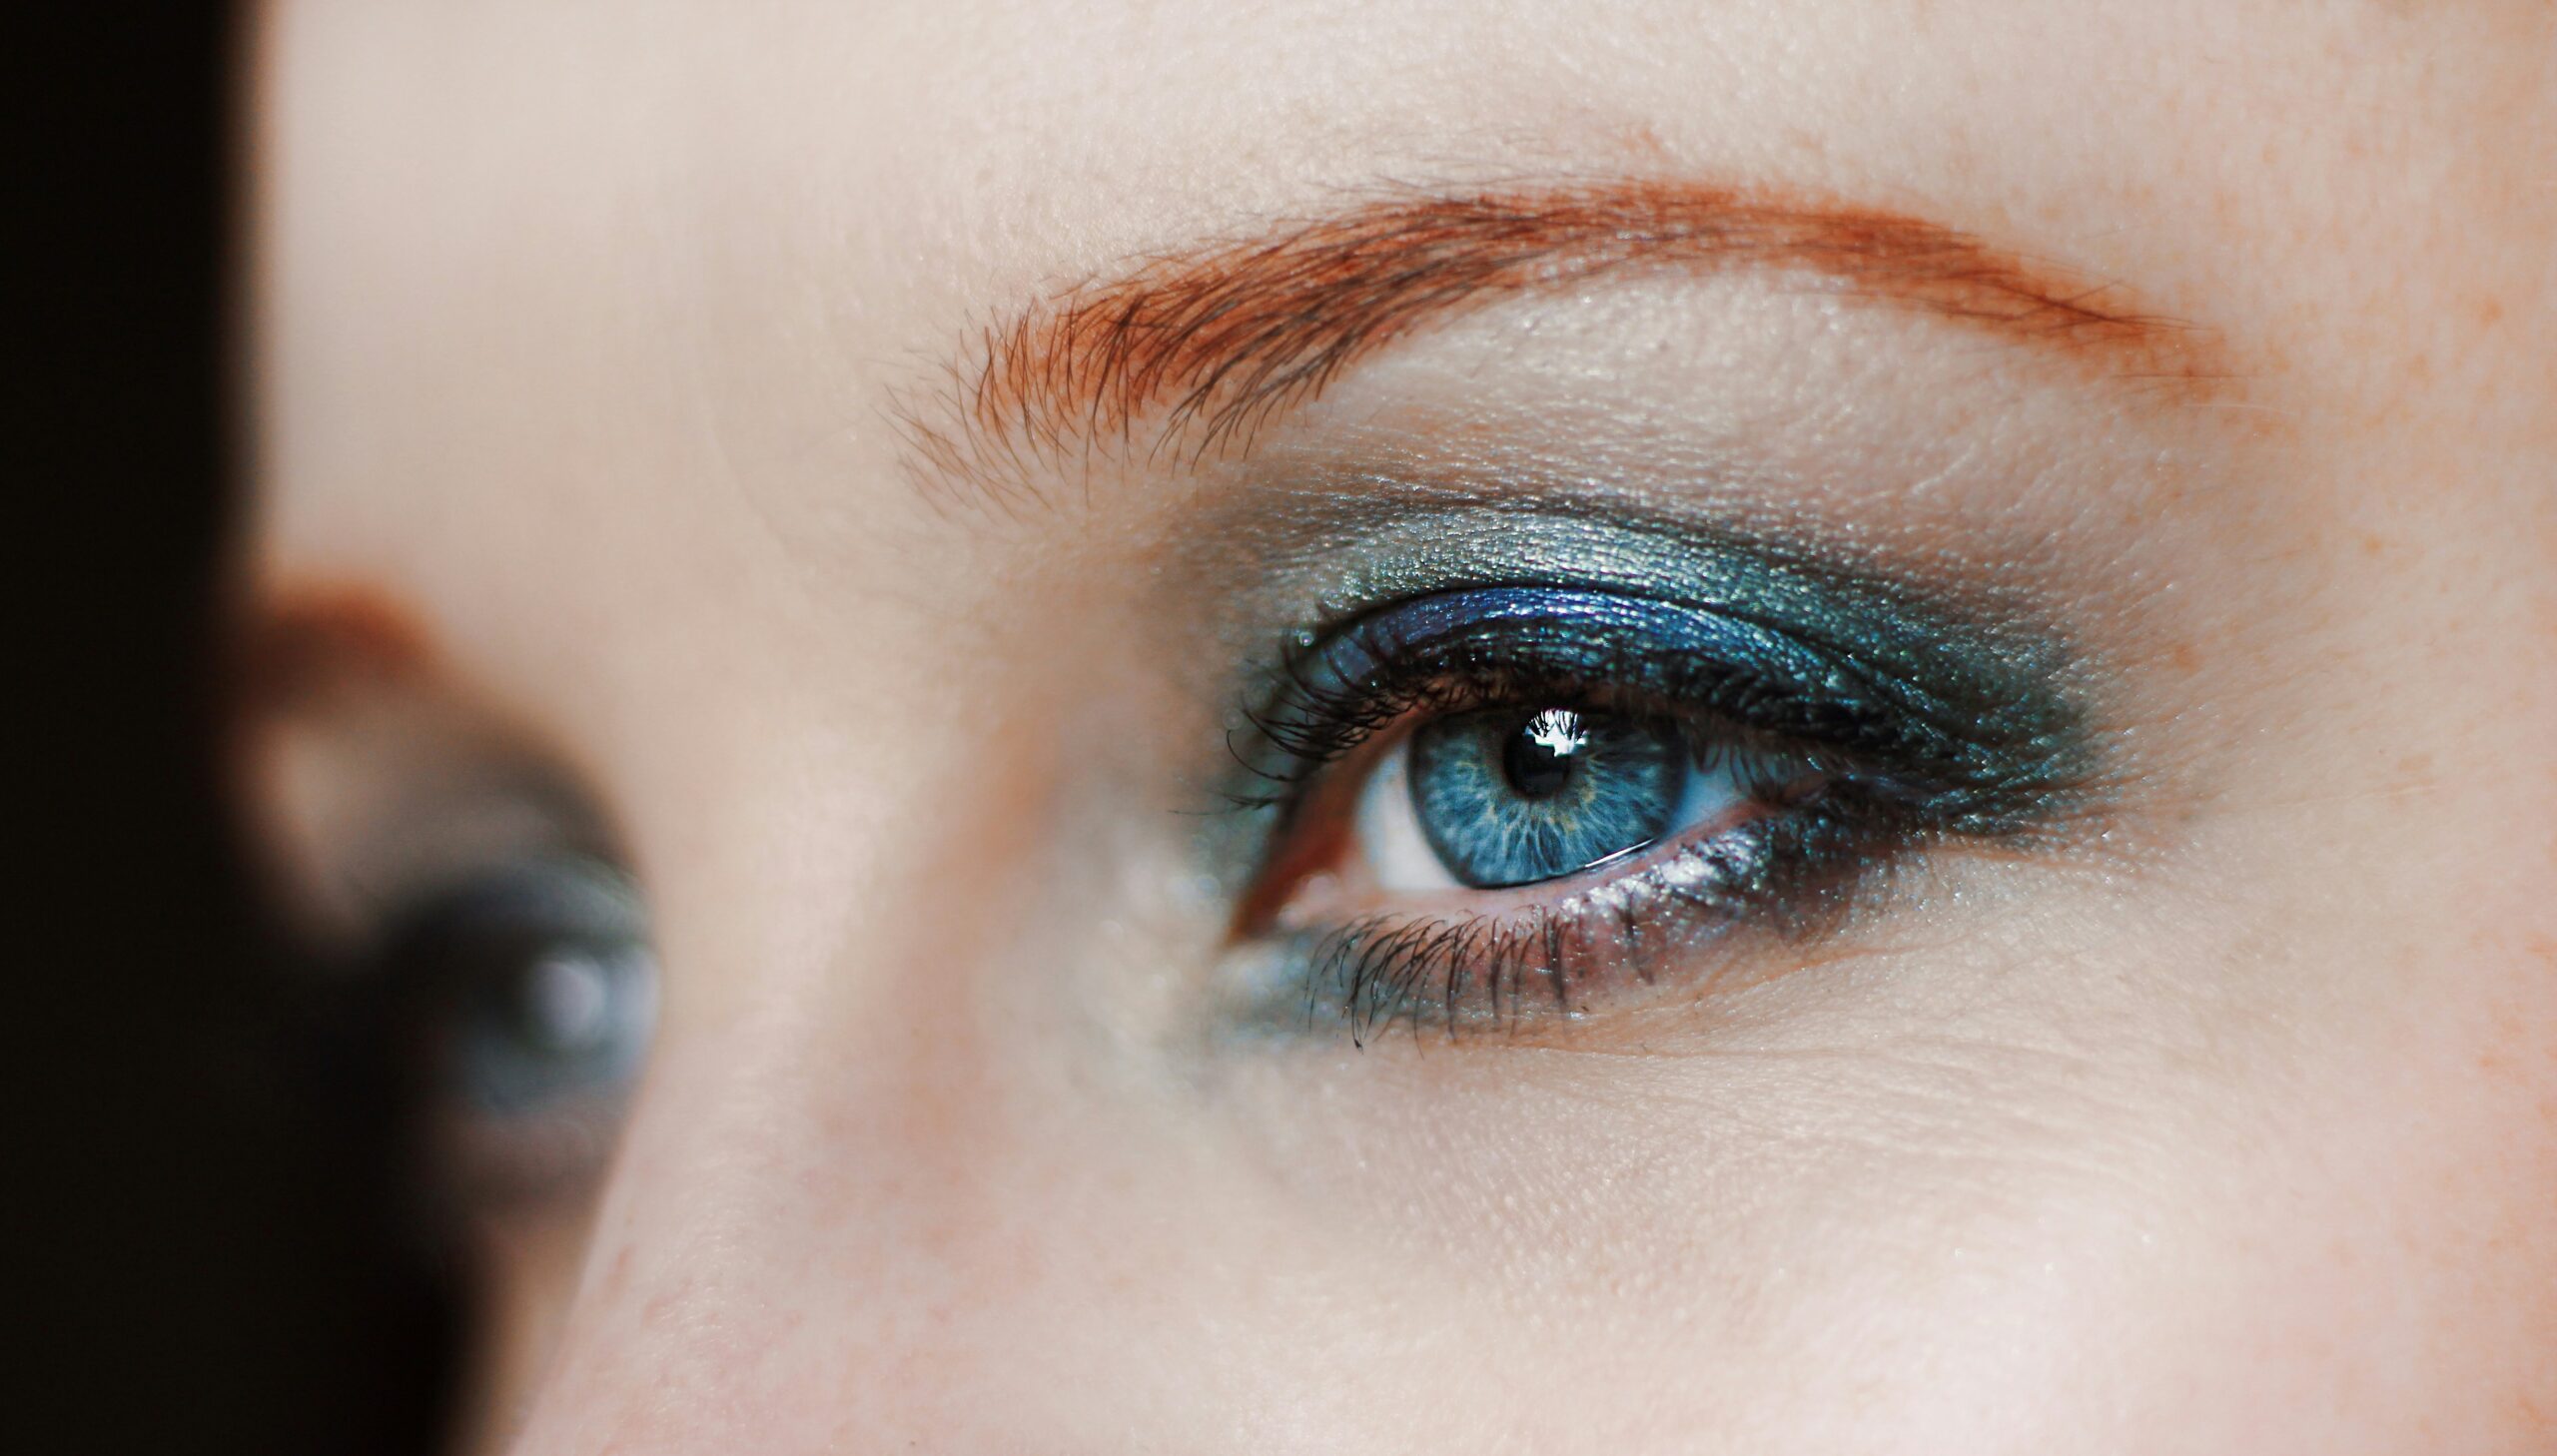
Real-Life Examples of Stunning Statement Eyes
Check out these queens who nailed statement eyes:
- Kim K rocking sultry smoky eyes during Paris Fashion Week.
- Ariana Grande channeling her inner fairy with sparkly pastels at Coachella.
- Euphoria-inspired neon liners that blew up Instagram last summer.
See? It’s totally doable.
FAQs About Statement Eyes and Palettes
Q: Can I achieve statement eyes without expensive products?
Absolutely! Drugstore gems exist—you just need to swatch before buying.
Q: What if my hands aren’t steady enough for detailed work?
No worries. Use tape as a stencil for sharp lines and gradual blends.
Q: Is layering essential for making eyeshadow stand out?
Yes. No excuses—layering gives depth and makes your eyes *pop.*
Conclusion
Congrats—you now possess the knowledge needed to slay statement eyes. Remember, it’s all about picking the right palette, applying strategically, and not being afraid to experiment. And hey, if you mess up along the way, embrace it like early 2000s butterfly clips—they were ugly yet iconic.
So go forth, unleash your creativity, and rock those lids like a disco ball. Because at the end of the day…
Like Lip Smackers in middle school, confidence makes everything better.